A headstand is one of those postures that everyone wants to be able to do. It’s majestic and quite magical and seems so impossible when you first give it a try. When I first started practicing yoga, I remember seeing other folk in my class doing headstand, with ease, thinking I would never ever be able to do it! But I like a challenge and after months of trying everyday, one day as if my magic my feet lifted and I stayed there for a couple of breaths. I am still learning something every time I practice it, but it feels so great – I liken it to hitting the reset button on the computer. When life is tough, busy and just not in the flow for you right now, try this inversion, reframe everything and look at life from a different perspective.
Here is a step by step process for learning headstand…of course there are many other things you can work on but this is enough to get you started.
Remember, nothing is better than attending class and getting help from an experienced and compassionate teacher.
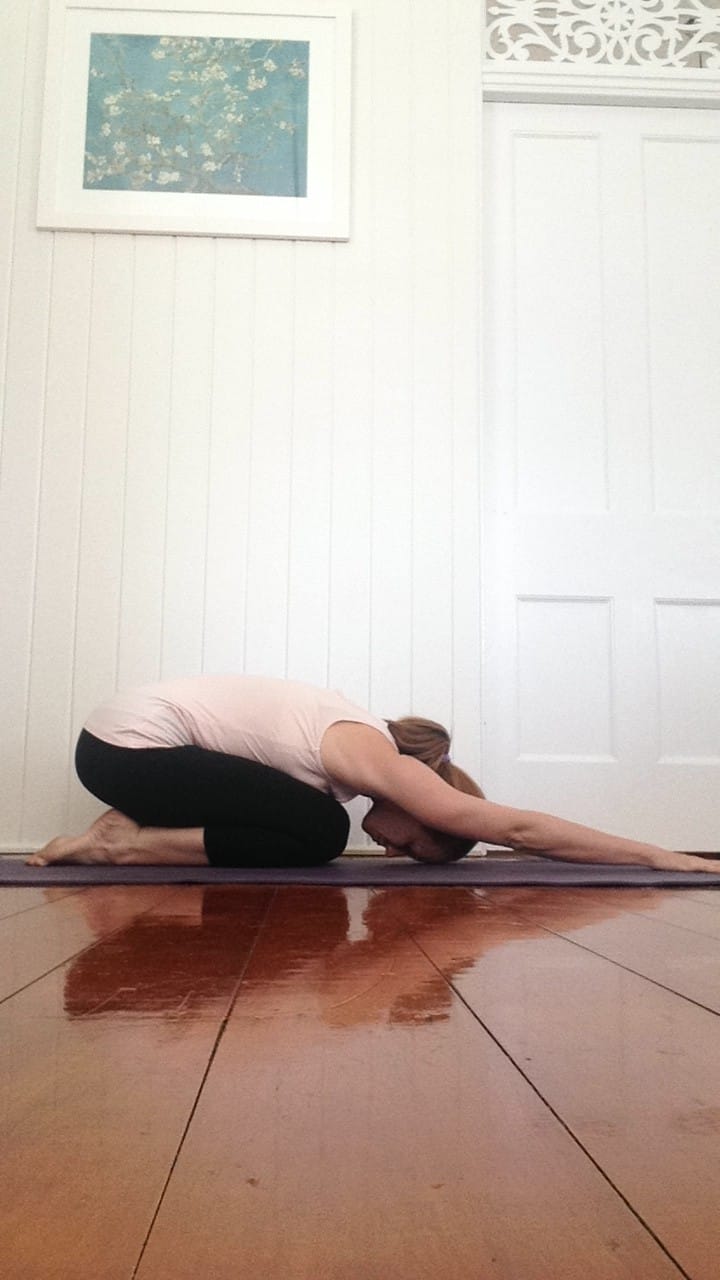
Step 1 : Child’s pose
This is a great first step as it reminds us to take a few breaths, centre ourselves, engage mula and uddiyana bandhas. This is also where we come back to after we have hung out upside down for a while. This helps open the shoulders and releases the upper back and neck after the headstand.
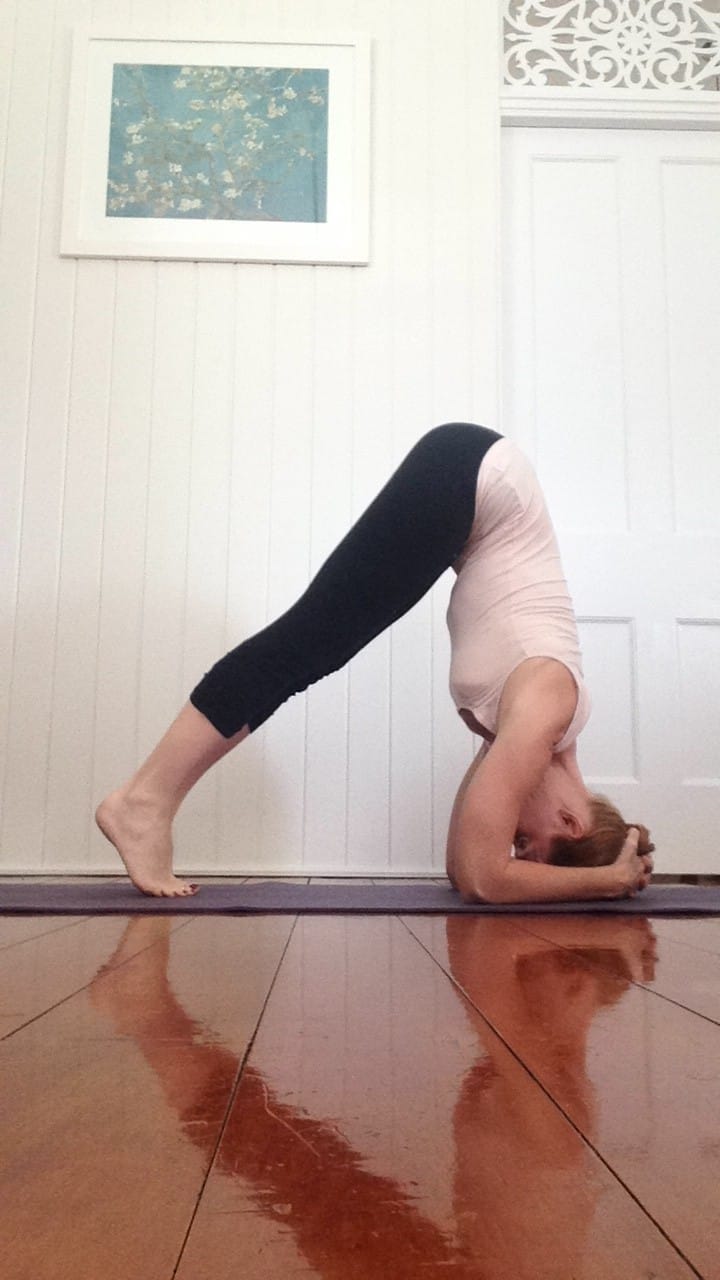
Step 2 : Find the top of your head
Now we practice finding the very top of our head and place it on the floor holding the back of our head in our hands. You shouldn’t be on the forehead or the back of the head. Press the forearms into the mat and lift your shoulders away from the floor to create space around the neck. No shrugging!
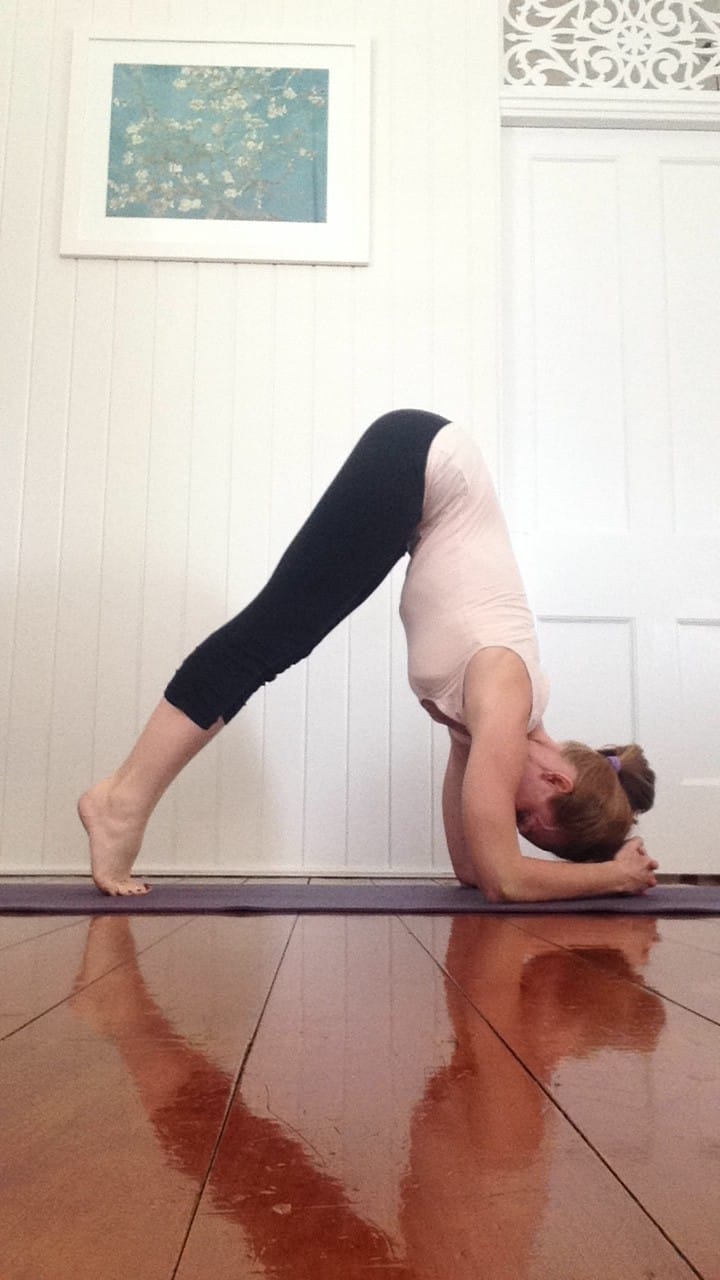
Step 3 : Hips over shoulders
Lift up onto your feet and slowly start to walk them in to get your hips over your shoulders. You can have bent knees if you need to help keep your back as straight as possible. Keep your breath steady and your mind calm. Take your time.
Step 4 : Lift the head
This is where the fun starts. We need to have strength in our shoulders and upper back to be able to hold a headstand safely and this step helps us get that strength. Keep pressing your forearms into the floor, keep your face relaxed and your breath steady. Once you can hold this easily for about 30 long slow breaths you should have enough strength for the next steps.
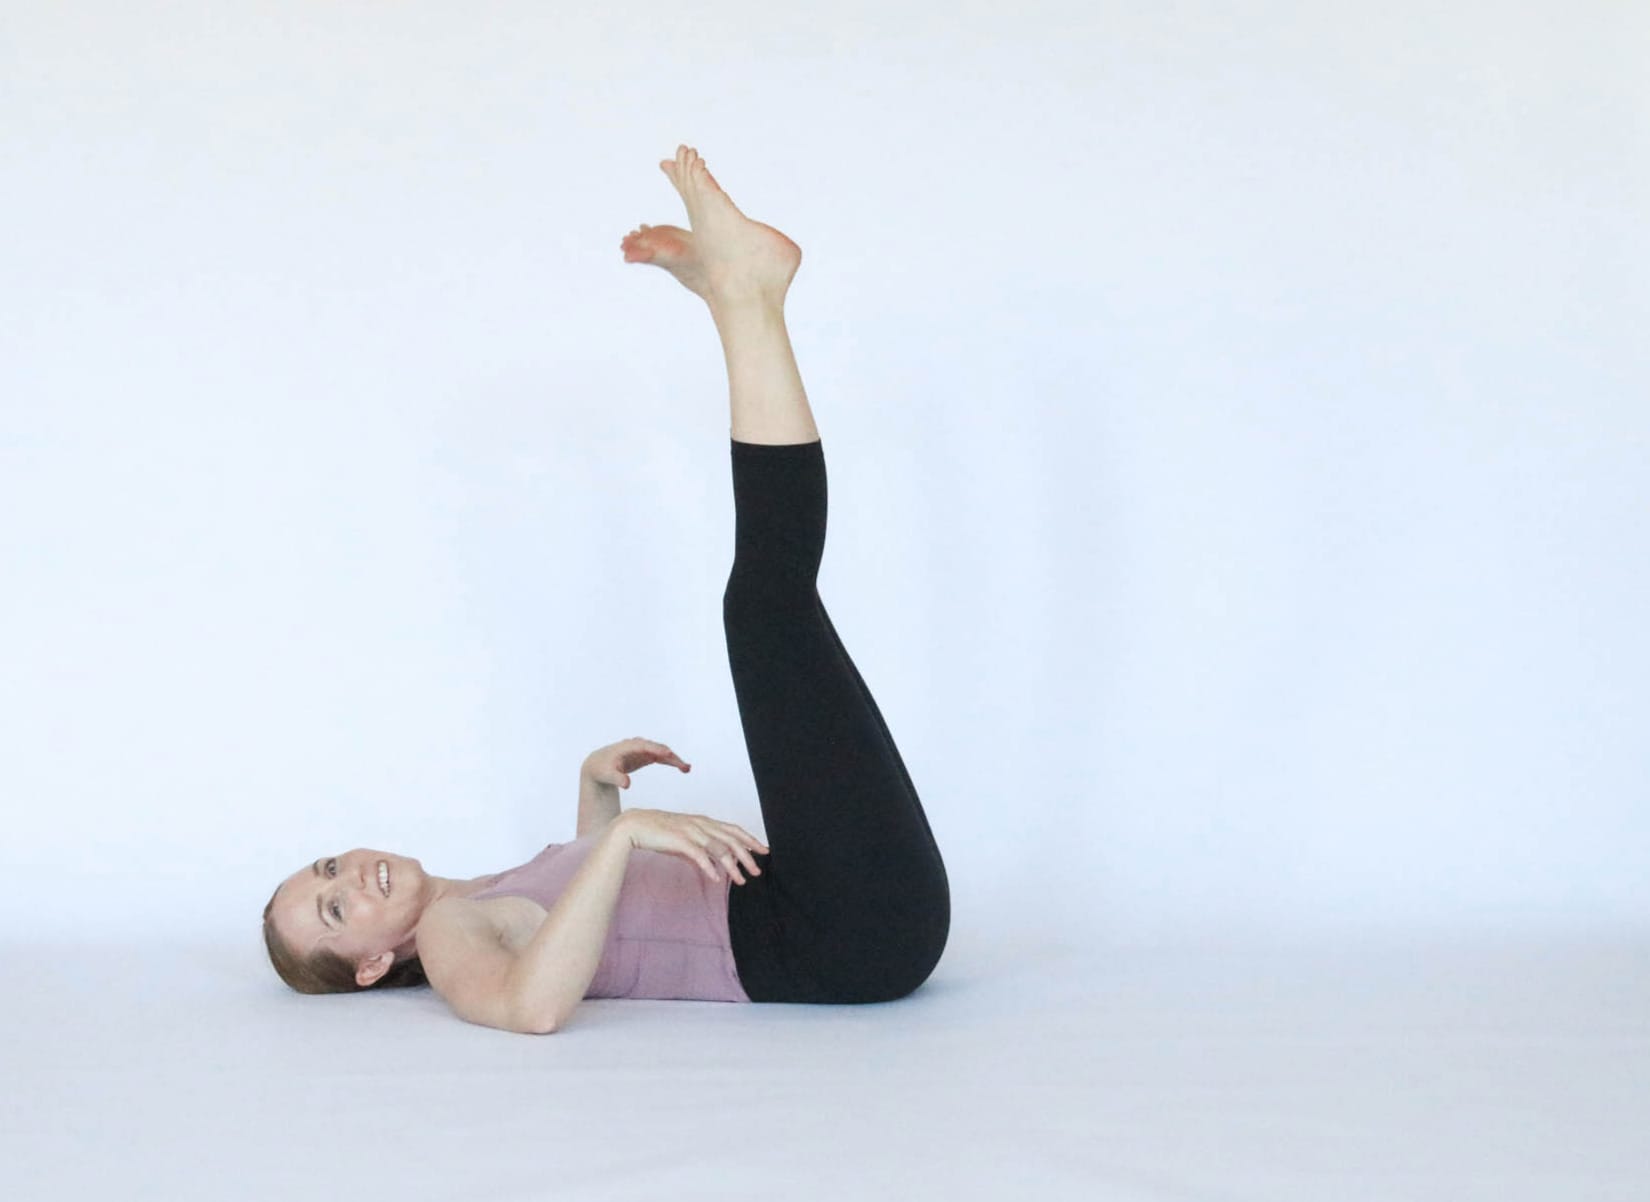
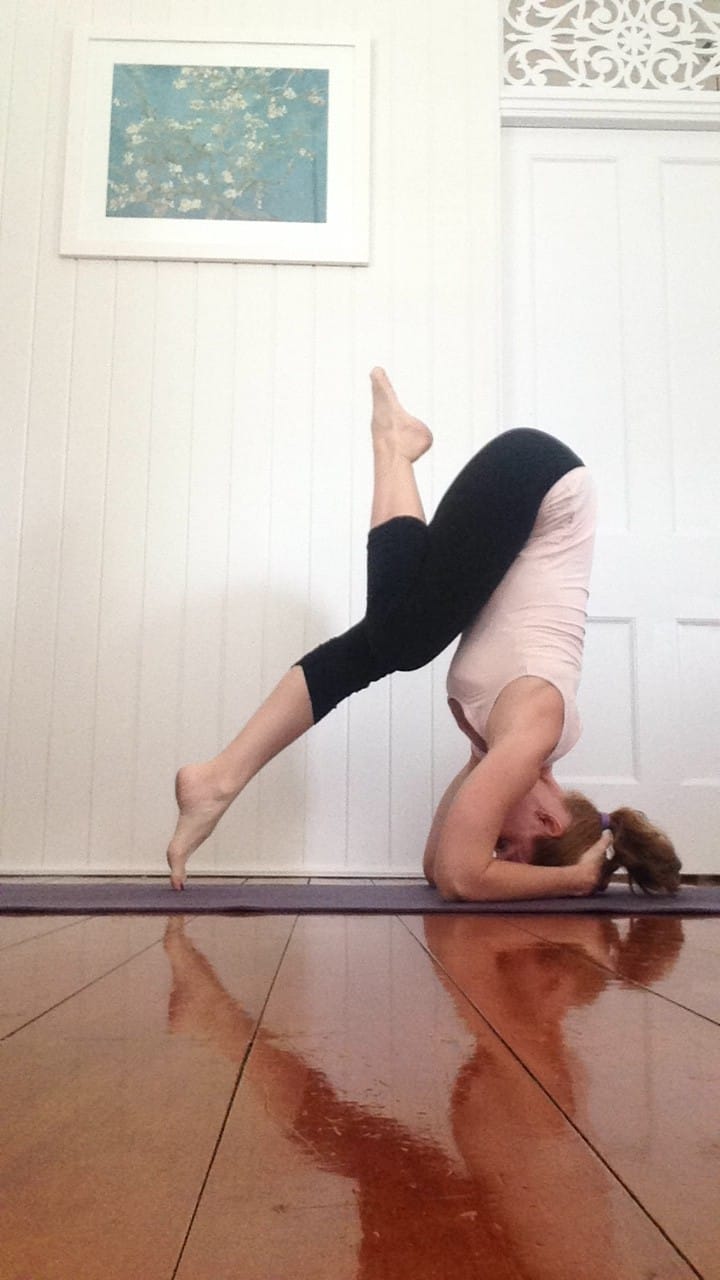
Step 5 : Tuck one knee, use your toes to lift
Place your head back on the mat and in your hands but you are still working hard to keep everything lifted. You shouldn’t have the weight of the world in your neck here, it should be all in the forearms, shoulders and upper back. Walk the feet in a little closer and tuck one knee into the chest tight. Then rise up onto your toes and feel the hips directly over the shoulders. Draw up into the belly to help with the lift. Swap legs.
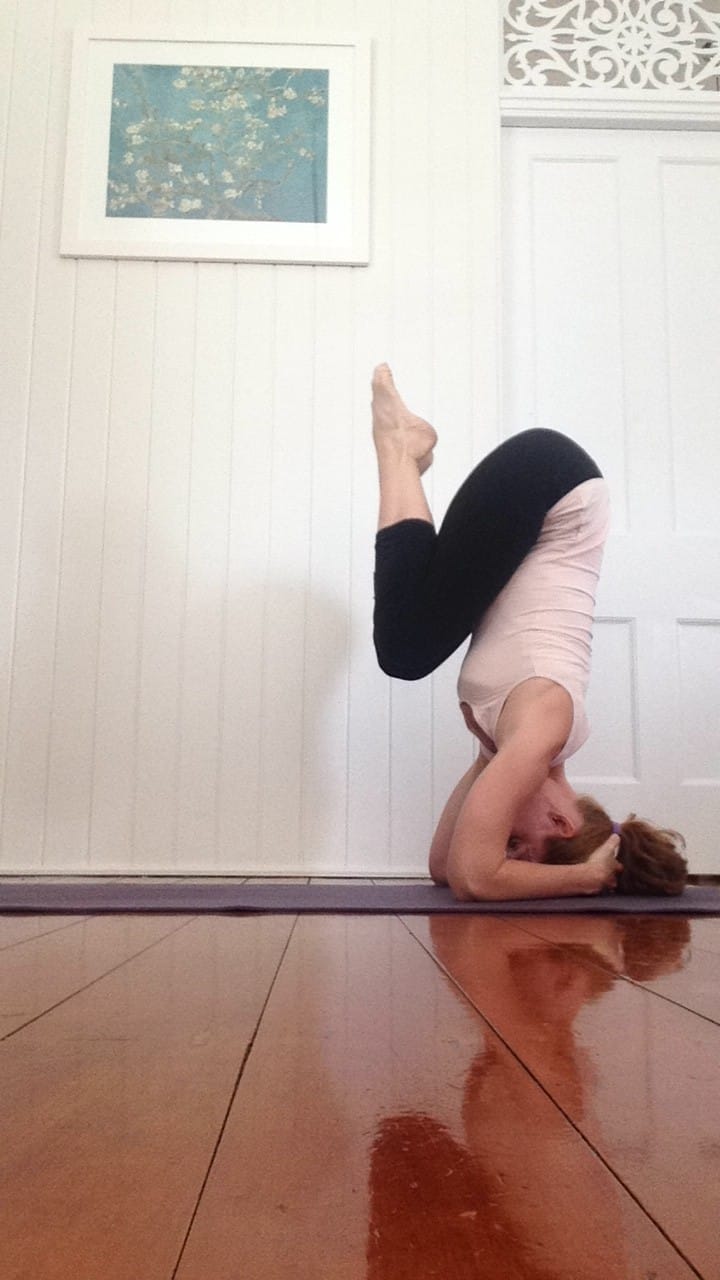
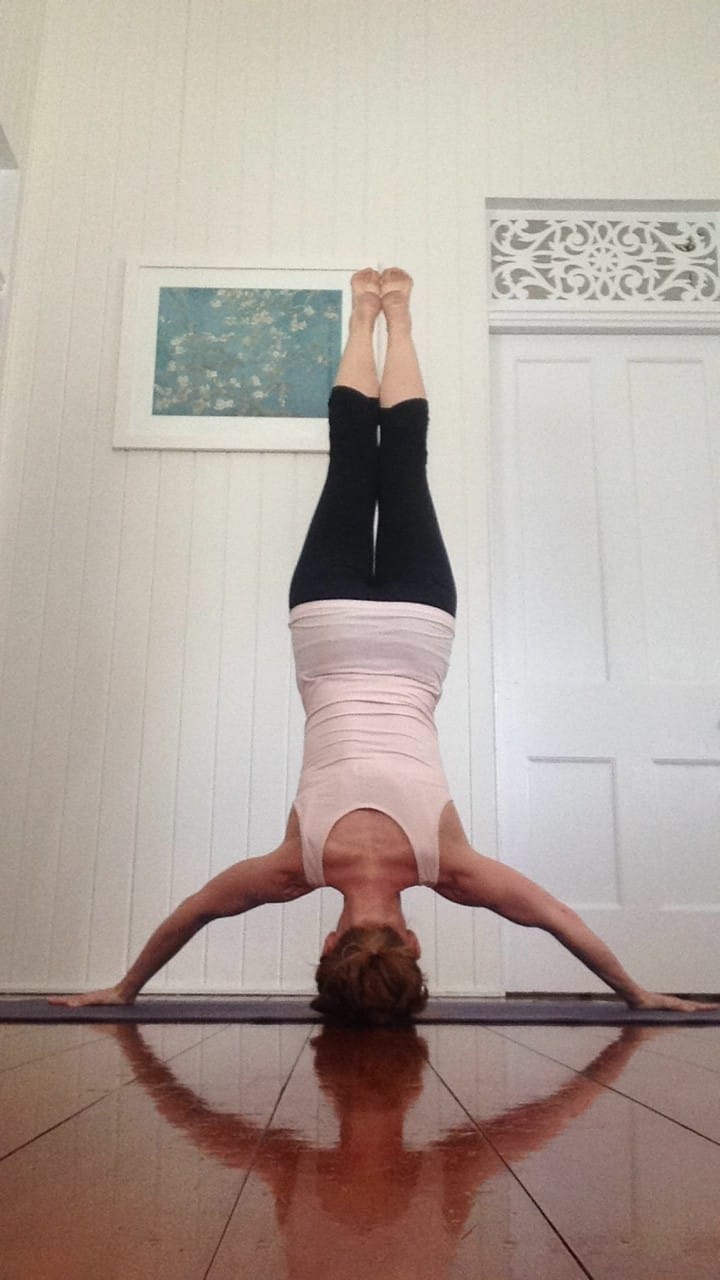
Step 6 : Press to lift both knees
Tuck one knee in and then draw up with the hips by arching your back to lift the other leg off the floor and come into a tuck position. No kicking up as this defeats the purpose. Make sure there are no small children, pets or coffee tables nearby. You can have a wall behind you but only as a safety net. If you do touch the wall, come straight down and try again. Keep your breath steady.
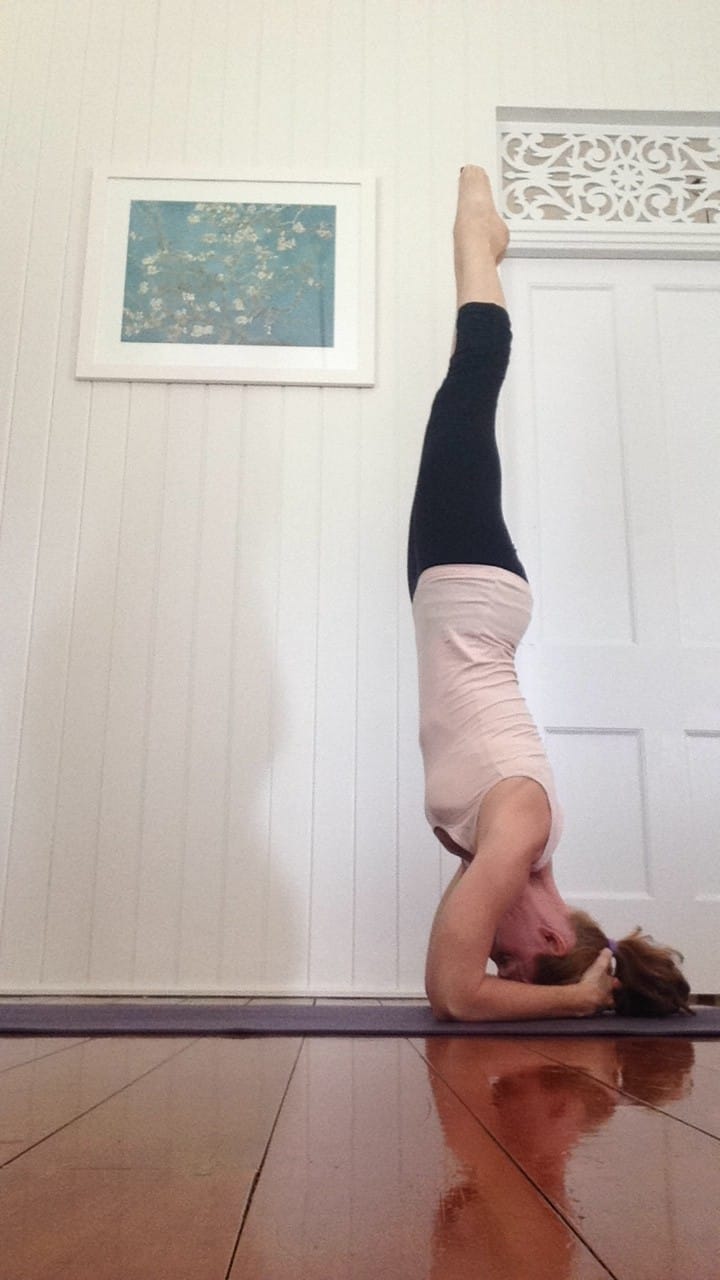
Step 7 : Slowly straighten your legs
Soon you will feel solid in the tuck position and you will feel ready to start straightening the legs. If you don’t feel confident, then seek the guidance of a teacher as nothing can replace the experience and assistance of a knowledgeable teacher who has been there before. Stay up for as long as you can, about 20 breaths is good. Enjoy and let me know how you go!
~Allison

.